Showing posts with label Vintage. Show all posts

Tuesday, October 28, 2014

Hello fall...


"Life starts all over again when it gets crisp in the fall."
-F. Scott Fitzgerald

For us this quote proved to be very true, as we've recently relocated. No one was as surprised as we were when my husband received a job opportunity cross country. So we've since moved from Washington state to our new home, Utah. And while I am missing all the greenery that the Pacific Northwest has to offer, I find that these long, cold, sunny days are pretty great too.


 Our new home is still in the works, but for now I wanted to share a bit of our dining room. So far it's my favorite room in the house.


Since "coffee bars" are all the rage, and we needed the counter space, we opted to create our own on the sofa table turned side board. It's actually really nice to just reach behind you and grab another cup from the table. I'm looking forward to creating a hot chocolate station for the holiday season as well!


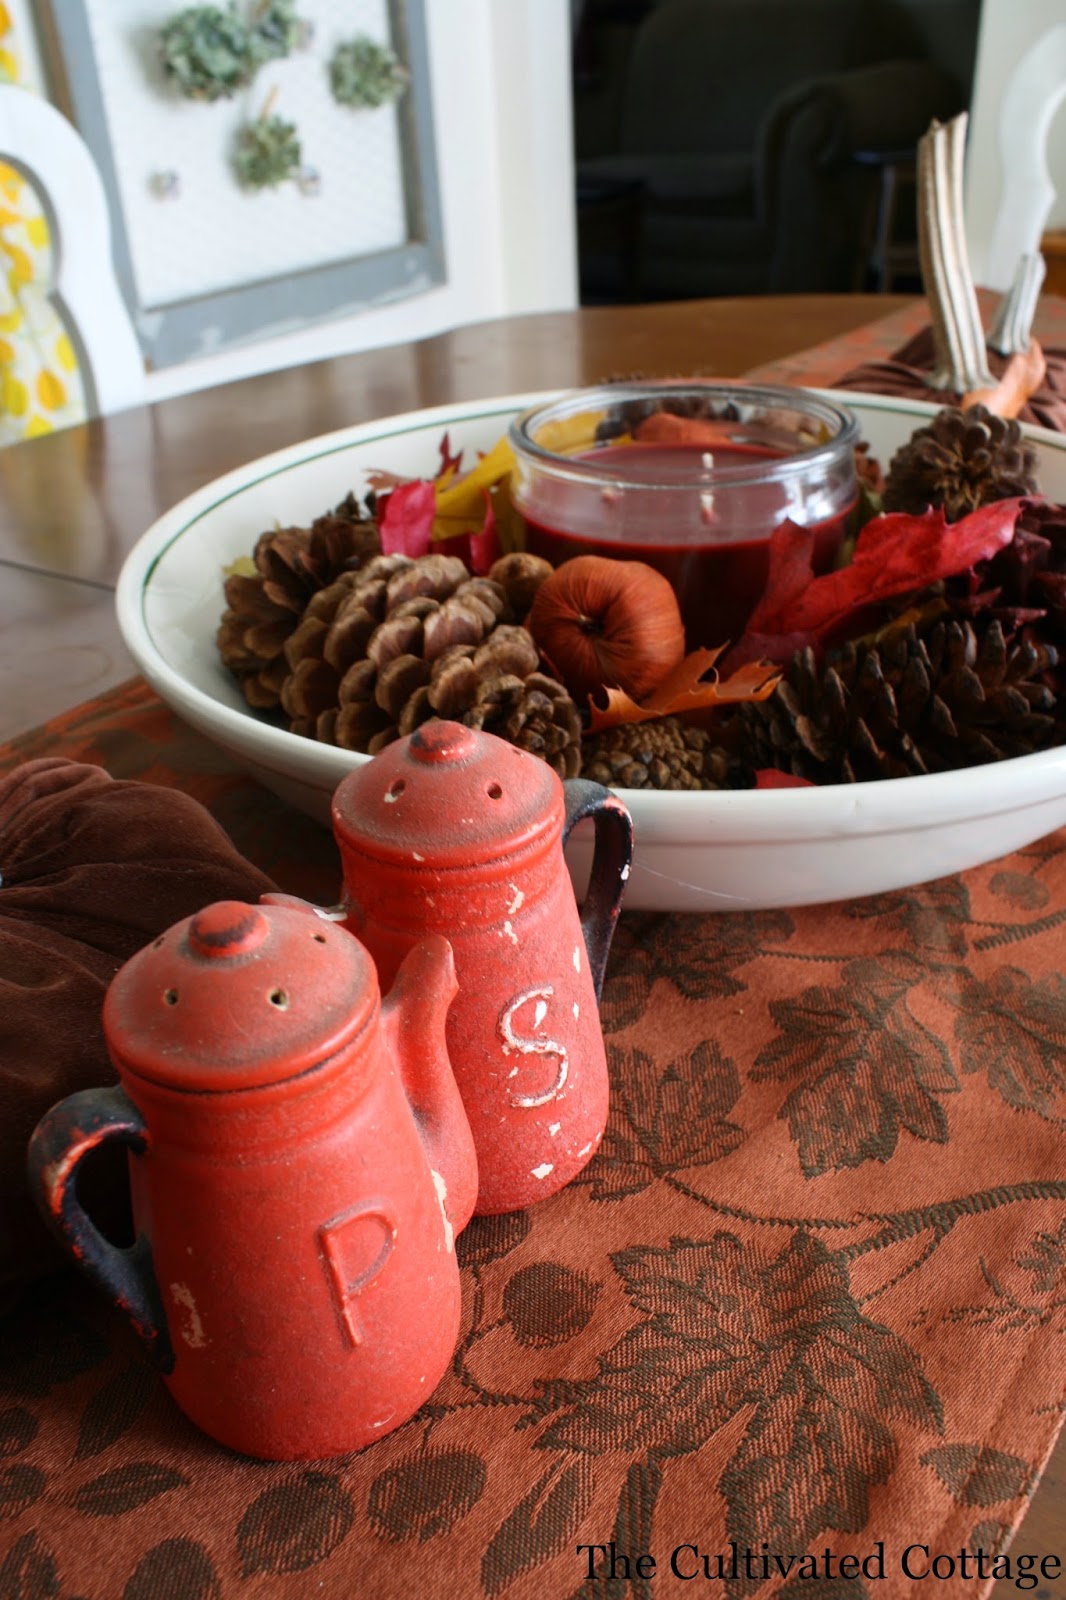
Our centerpiece this year is simple, scented pine cones and a candle in my favorite bowl. Vintage salt and pepper shakers to complete the look!


My hutch is on my project "to-do" list. I'm thinking something along the lines of green and white! I love that my dishes are handed down from my mother's side of the family, but it wasn't a complete set, so I've added some tea cups in a matching scheme, and have a few teapots that coordinate as well.


Sometimes it's something as simple as a few pumpkins and some wheat to bring in the feeling of fall. Hope you enjoyed my little space.


Saturday, August 9, 2014

Vintage Sofa Revival


This reveal has been a year in the making, but it was oh so worth it.
I first acquired this beauty while we were stationed in North Dakota, from a very generous friend. For the first few years, the sofa maintained her original upholstery and cushions. But after some wear and tear from our move to Washington and some incidents with a naughty dog, it was time to give her a makeover.


While my husband was deployed last year, I stayed with family in California, and brought her along. I'd never recovered something quite so huge before (Ok, more like I'd never recovered more than a dining room chair!) and knew I would need some backup in the form my insanely talented mother. Together, we tackled removing all the fabric, cushioning, and the millions of staples that held it all together.


The photo above was at what was the scariest part of all. The staples were taking forever and the reality of what I had undertook was finally sinking in. At this point I semi-seriously considered listing the sofa on Craigslist under "free."


Thankfully, I persevered and when we finally got down to the stuffing, we stopped. I left the original stuffing on the back and sides since it was still in good shape and would cut my work time down. I'm so glad I did.


 After filling, sanding, and re-staining the frame, the fun part finally came! And by fun I mean crazy stressful and frustrating. My first hurdle was trying to get the color of the fabric right. I used two drop cloths from Lowe's as my upholstery fabric. I'd wanted a dark grey, so I used RIT dye to change the color of the drop cloths. But after trying to adjust the color a few times I gave in and said good enough. I ended up with a grey-blue color instead, but I'm still pretty happy with it.

My next hurdle was the tufting. It took three tries to get the back right, but you'd better believe I'm a whiz at tufting now!


I did not take progress photos, I had meant to at one time, but to be honest, this took all my attention. I found some really great tutorials though that I will post at the end.
After this stage...it sat. And looked like this for about six months before I found out we would be moving again and knew I needed to finish it once and for all!


 The back and sides were incredibly easy after the tufting of the front, still challenging in it's own way, but the process took much less time.


 For the cushions I used the high density foam that Joann Fabric's carries. It is incredibly expensive, but if you use a half off coupon it really helps cut down on the price. This is obviously not the best photo of it, but it is the green rectangle in the back of the photo. It's super comfortable!


The trim is also a Joann's find, and I was very lucky with how closely it matched my fabric, which I'll talk about more at the end of the post. Gluing it on took forever, but it really finished it off and is preventing the fabric from fraying!


Remember how I was saying my mom is insanely talented? She made the beautiful cushions for me. She made the piping to match, and then sewed them up nice and straight. I could never have done such a great job!


Since I didn't take photos of my own to share, I thought I would share the tutorials I used to help me with the dying and tufting processes. I have a Pinterest board full of inspiration here, but the ones below are my favorites.

For dyeing the drop cloth, this tutorial from Sunnyside Up-stairs using RIT dye was a favorite.

For the tufting, I found the tutorial from Blue Roof Cabin and the links she provides to be the best. There is a video called Kim's Upholstery that was excellent in helping me figure out how tufting works.

And while I ended up not sewing the cushions myself, this tutorial from Smart Girl Style for professional looking cushion covers was a great read and I will definitely be using it for future projects!


I hope you all enjoyed seeing my not-so-little project. 
This sofa was really a labor of love, but I am so glad I finished it and am now able to enjoy it in my living room! Well, until we move that is!
 My next project will be making a cover and pillowcases for the loveseat! I found that lovely piece at The Farm Chick's show in Spokane, WA! I can't wait to share it in more detail once it's all spruced up!
 Until next time!

Thursday, August 8, 2013

Vintage Inspired Tea


 Perfect time of year for a lovely summer tea isn't it? That was the idea when we decided to do something special for my Grandmother's birthday. And what could be better than a vintage inspired tea party?!


While we knew the decor would be one of the most important factors in setting the mood of the party, the food mattered the most! If you ask me, a nice cup of tea and a good scone make a tea party! For our menu, we provided a plain sugared scone, chopped fruit, whipped cream, rolled sandwiches, cucumber sandwiches, and mini quiche. You can find some of the recipes I used on my Tea Party Pinterest board.


While we wanted the tea to be beautiful and elegant, not everyone owns all the things one would need for a formal tea party. Let alone a party of over fifteen people! So for our tea, we didn't worry about matching everything just so, or having the "right" dishware to put food items in. At the end of the day, a gravy boat can double as a sugar dish as needed! It's all about using what you have and focusing on making the day special. And psst! That cute little teapot above? It's totally holding creamer.


One of my favorite decorating motto's is "Use what you have." My chalkboard in the photo above? Endless uses. Wipe away the previous drawing or quote and you have a fresh surface! The basket that says "Tea" along the side? Before the party it was a leopard print castoff. A little spray paint and some chalkboard paint, and voilá! New life as a cute tea caddy. My Mother and I are American Girl doll collectors and so some of our dolls made an appearance on the sideboard. The doll sized tea set was mine growing up, isn't it sweet? It fit our theme perfectly. Oh and the banner above the window? I found the gift tags in the dollar section at Michael's and strung them on a thin ribbon. It made a cute little pendant banner!


Most of the items are family heirlooms, or items my Mother has collected over the years. A few items though were thrifted and a couple new pieces were bought especially for the party. One area we found lacking was teapots! While my Mother had a lovely collection of different patterned cups, there wasn't a teapot to be found! The one shown here was found at Pier 1, as well as the pearl cluster napkin rings.


The lovely table runner was made by my Mother, as my Grandmother's birthday present. Not only was it a nice way to give her something that would remind her of our lovely tea party, but by using it during the party itself, it added to the tablescape and everyone was able to admire it.


Hopefully this inspires you to pull your beautiful things out of the cabinet, and find a new and creative way to make your own beautiful tea party!